 , and then press Protractor
  .
.SMART Notebook 10 for Windows Operating Systems
You can insert a protractor into a page, manipulate its size, rotation and location, and then draw along its edges.
Press Measurement Tools , and then press Protractor .
A protractor appears.
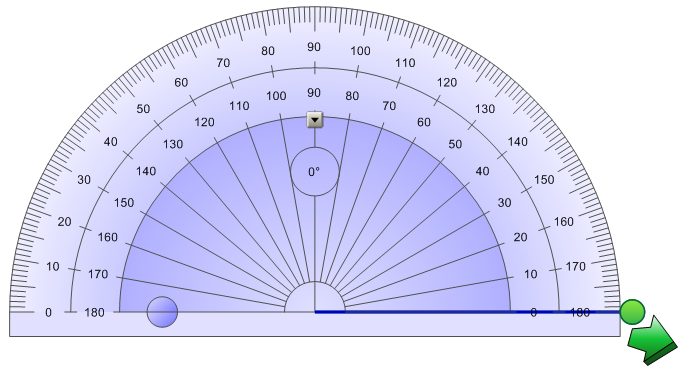
Press the inner part of the protractor (displayed as a darker shade of blue), and then drag the protractor to a different position on the page.
Press the inner circle of numbers, and then drag away from the protractor to enlarge it or towards the center of the protractor to shrink it.
Press the outer circle of numbers, and then drag the protractor in the direction you want to rotate it.
The protractor displays the current rotation in degrees.
Press the blue circle  next to the 180 label on the inner circle of numbers
To display the semi-circle again, press the blue circle again.
Press Pen  , and then select an available line type.
Draw along the edge of the protractor.
Digital ink appears in an arc along the edge of the protractor.
Move the green circle until it shows the correct angle for the first of two intersecting lines.
Press the green arrow in the bottom corner.
The first line appears.
Move the green circle until it shows the correct angle for the second of two intersecting lines.
Press the green arrow in the bottom corner.
The second line appears. SMART Notebook also displays the angle between the two lines.
Press the protractor.
Press the protractor's menu arrow, and then select Delete.