Using SMART Document Camera
Your SMART Document Camera integrates with SMART Notebook software, enabling you to control your document camera from your computer or from a SMART Board interactive whiteboard or display. You can display objects, capture an image and your annotations on an image to a SMART Notebook page, zoom, focus and adjust brightness settings.
 To open a SMART Document Camera window
-
Connect your SMART Document Camera to your computer and turn on the document camera.
-
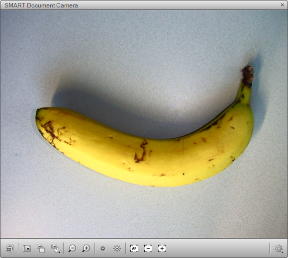
Place the object or objects you want to display under the camera.
-
Press SMART Document Camera  .
.
A SMART Document Camera window appears.
Note
Alternatively, you can open the SMART Document Camera window by pressing Capture  on the SMART Document Camera control panel.
-
Do any of the following:
-
Press Zoom In  to zoom in.
-
Press Zoom Out  to zoom out.
-
Press Increase Brightness  to brighten the image.
-
Press Decrease Brightness  to darken the image.
-
Press Focus In  or Focus Out
  to change the focus manually.
-
Press Autofocus  to change the focus automatically.
-
Press Close when you’re done.
To convert the image
-
Open a SMART Document Camera window.
-
Press Additional Settings  .
.
Note
The Additional Settings button appears only if you’re using a SMART Document Camera 330.
-
Do any of the following:
-
Select to rotate the image 180°.
-
Select to convert a black and white image to color.
-
Select to convert a color image to black and white.
-
Select to convert a negative image to positive.
-
Select to convert a positive image to negative.
To use Microscope mode
-
Open a SMART Document Camera window.
-
Press Additional Settings , and then select .
Note
The Additional Settings button appears only if you’re using a SMART Document Camera 330.
-
When you’re done, press Additional Settings , and then select .
To take a screen capture
-
Open a SMART Document Camera window.
-
Press Capture and Close  to insert a screen capture on the current page and close the window.
OR
Press Capture to New Page  to insert a screen capture on a new page and keep the window open.
To take a series of screen captures
-
Open a SMART Document Camera window.
-
Press Capture with Time-Lapse  , and then select a period of time. (For example, if you want to take a screen capture every 15 seconds, select 15 Seconds.)
-
Press  when you’re done.
 SMART Notebook 10.8 for Windows operating systems


