SMART education software for Windows operating systems
SMART education software for Windows operating systems
SMART education software for Windows operating systems
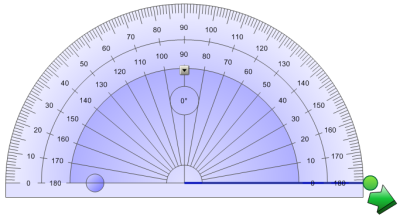
You can insert a protractor into a page, manipulate its size, rotation and location, and then draw along its edges.
 To display the protractor as a complete circle
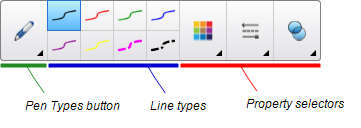
To draw using a pen and the protractor


 , and then select Insert Protractor
  .
.
 next to the 180 label on the inner circle of numbers.
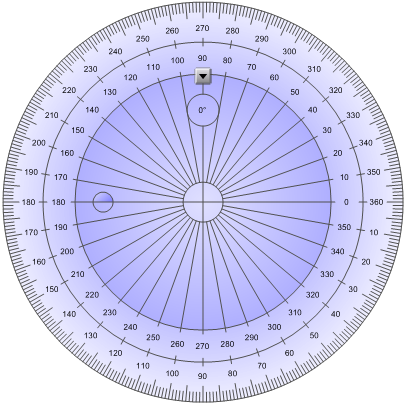
 .
.